
November 22, 2023 · Sunny Pools
Progression of your Fiberglass Pool Install
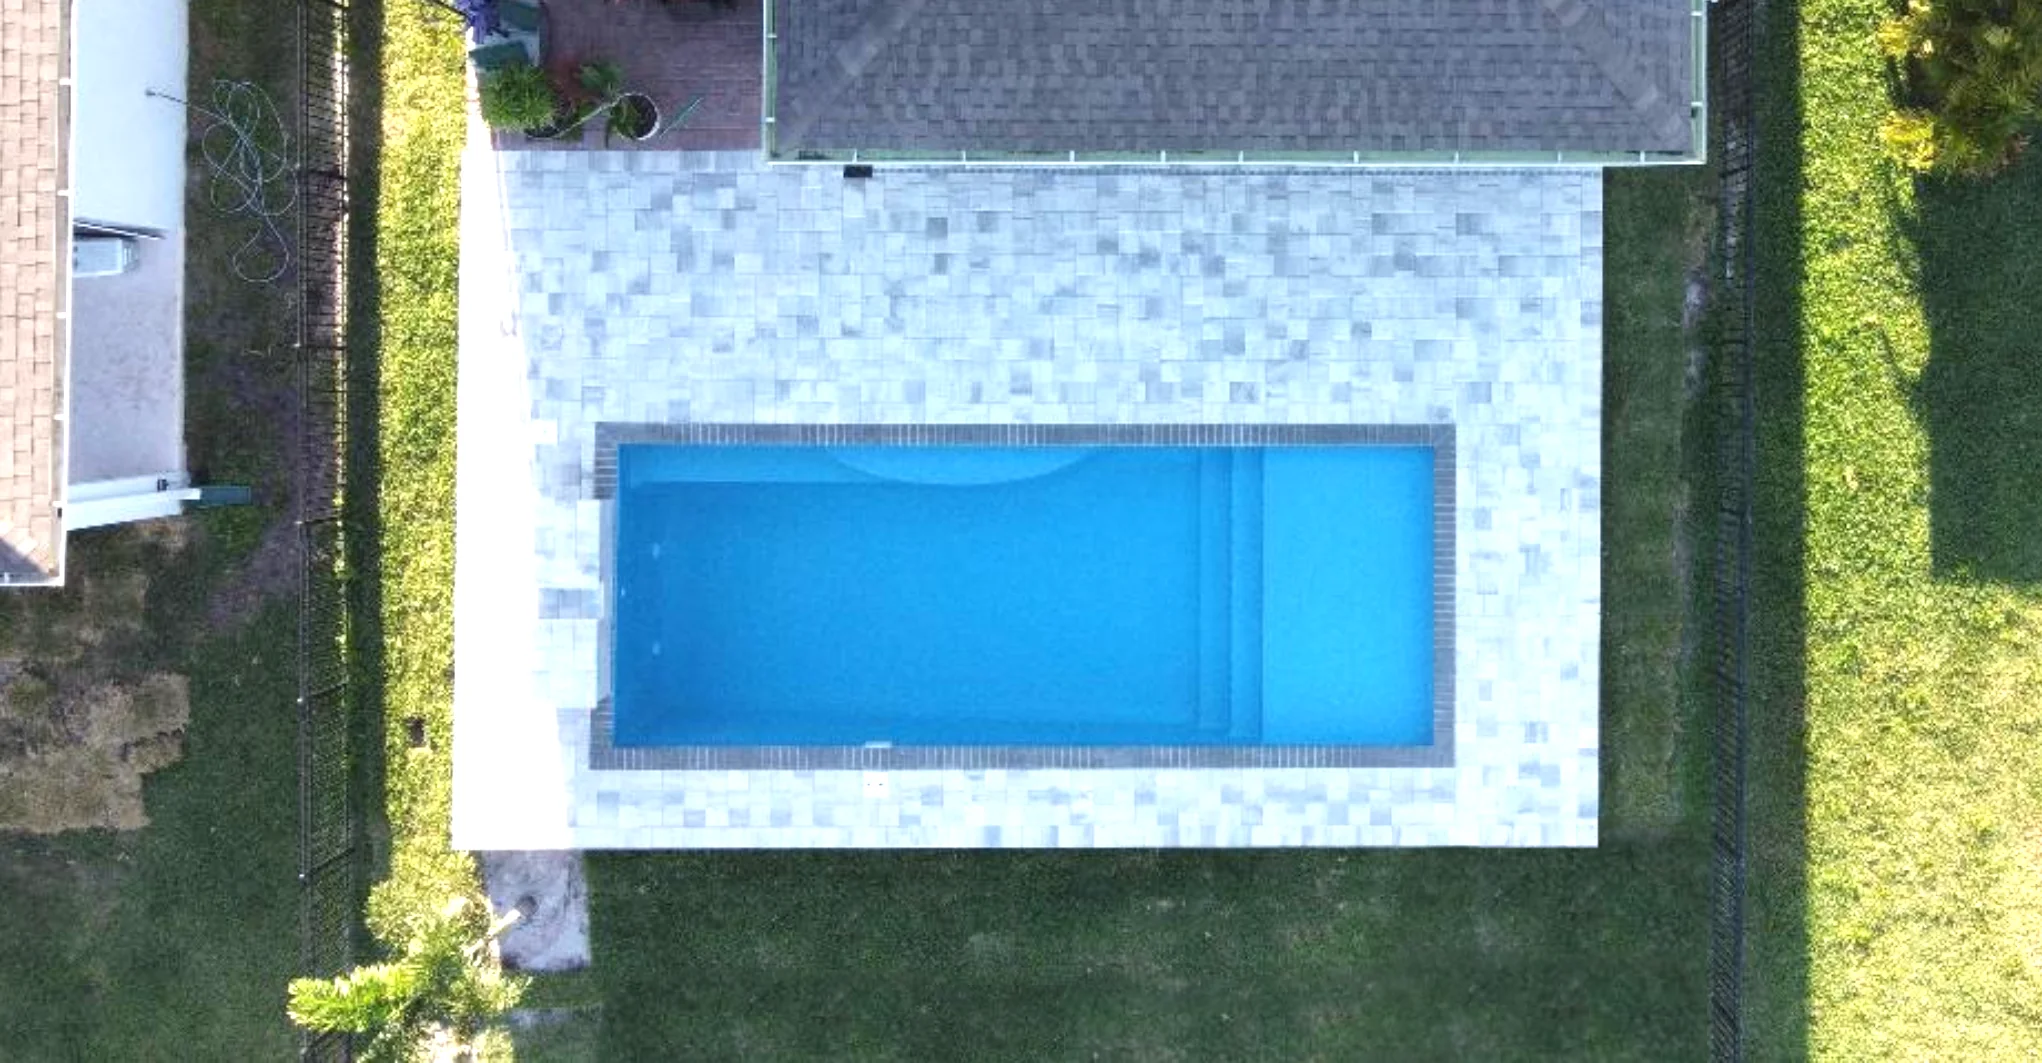
The installation process for a fiberglass pool involves several steps, including sod removal and excavation, preparing the base, installing plumbing and electrical components, pouring concrete or installing pavers for the deck, cleaning the pool, explaining the equipment to the homeowner, and concluding with a final inspection. The duration of each step may vary depending on the size and complexity of the pool, as well as other factors such as weather and local regulations. It's important to work with experienced and qualified professionals to ensure a successful and safe installation of your fiberglass pool.
Step 1: Sod removal and Excavation (1 to 2 days): The first step in installing a fiberglass pool is to remove any sod or vegetation from the designated area and excavate the ground to create a hole for the pool. This process may take one to two days, depending on the size and complexity of the pool and the condition of the soil.
Step 2: Prepare the base for the Pool (1 day): After the excavation is complete, the next step is to prepare the base for the pool. This may involve leveling the ground, removing any rocks or debris, and ensuring that the ground is compacted and stable to support the weight of the pool. This process usually takes one day.
Step 3: Arrival of the Pool (1 day): Once the base is prepared, the fiberglass pool is delivered to the installation site. This typically takes one day, and the pool is carefully positioned in the excavated hole, ensuring that it is level and properly aligned.
Step 4: Plumbing, Electrical, backfilling, bonding, and Inspections (2 to 5 days): The next step is to install the plumbing and electrical components for the pool, including the main drain, skimmer, return lines, lights, pump, and other necessary equipment. This process may take two to five days, depending on the complexity of the pool design and the local building codes. After the plumbing and electrical work is complete, the pool is backfilled with clean, compactable fill material and bonded to the surrounding soil. Inspections are also conducted to ensure that the installation meets all safety and building code requirements.
Step 5: Adding woods to mold the footer around the pool and Concrete Deck (1 day): In some installations, wood forms may be added around the pool to create a mold for the footer, which serves as the foundation for the concrete deck. This process usually takes one day and ensures that the concrete deck is poured accurately around the pool, creating a smooth and level surface.
Step 6: Inspection of the footer (1 day): Once the wood forms are in place, the footer is inspected to ensure that it meets the required standards and is ready for the pouring of concrete. This typically takes one day and ensures that the foundation of the deck is solid and secure.
Step 7: Pouring Concrete in the footer and Concrete Deck (1 day): With the footer inspected and approved, the next step is to pour concrete into the footer and around the pool to create the deck. This process usually takes one day, and the concrete is carefully poured and finished to create a durable and attractive surface around the pool.
Step 8: Wood removal: After the concrete is fully cured, the wood forms used to mold the footer are removed, leaving behind a clean and finished concrete deck. This process may take a day or two, depending on the size and complexity of the deck.
Step 9: In case of Pavers Deck (1 to 2 days): If a paver deck is being installed instead of a concrete deck, this step involves the installation of the pavers according to the design and specifications discussed during the planning phase. This process may take one to two days, depending on the size and complexity of the paver deck.
Step 10: Cleaning of the Pool: Once the deck is complete, the pool is thoroughly cleaned to remove any debris or construction residue from the installation process. This includes cleaning the pool shell, waterline tile, and deck surface to ensure that the pool is ready for use.
Step 11: Explanation of the equipment and Conclusion of the Pool Project: After the pool is cleaned, the equipment, including the pump, filter, and any other components, are set up and explained to the homeowner. This includes providing instructions on how to operate and maintain the pool and its equipment, such as how to adjust the water chemistry, clean the pool, and operate the pump and filter. The pool project is concluded with a final walkthrough and inspection to ensure that everything is in proper working order and meets the homeowner's expectations.
Step 12: Final Inspection: The last step in the installation process is a final inspection by the local building department or other relevant authorities to ensure that the installation meets all safety and building code requirements. This inspection typically involves a thorough review of the pool, deck, plumbing, and electrical work to ensure that everything is up to code and safe for use.
Ready to start your own pool project?
Request a Quote